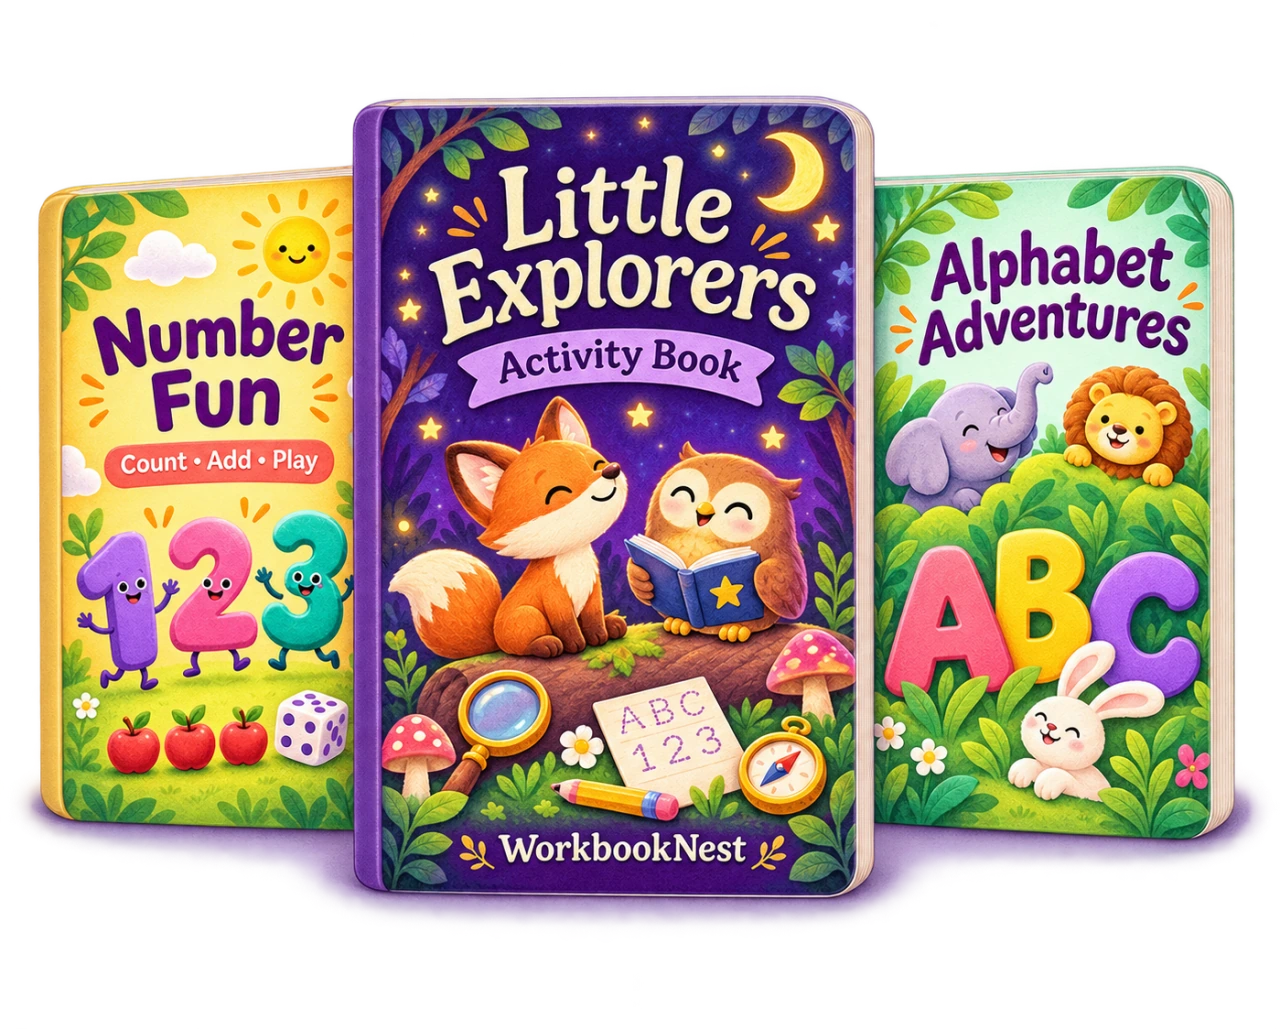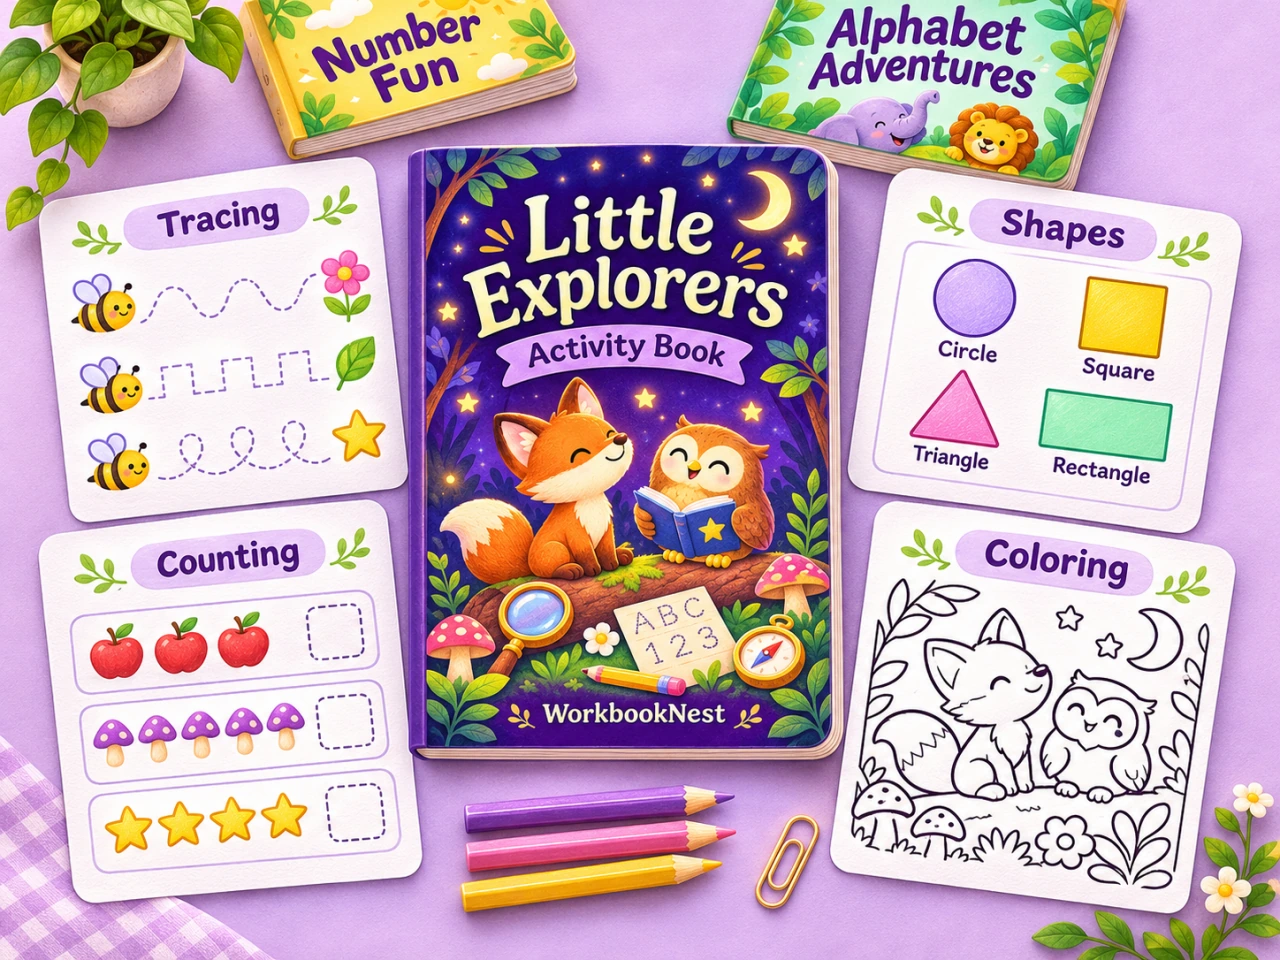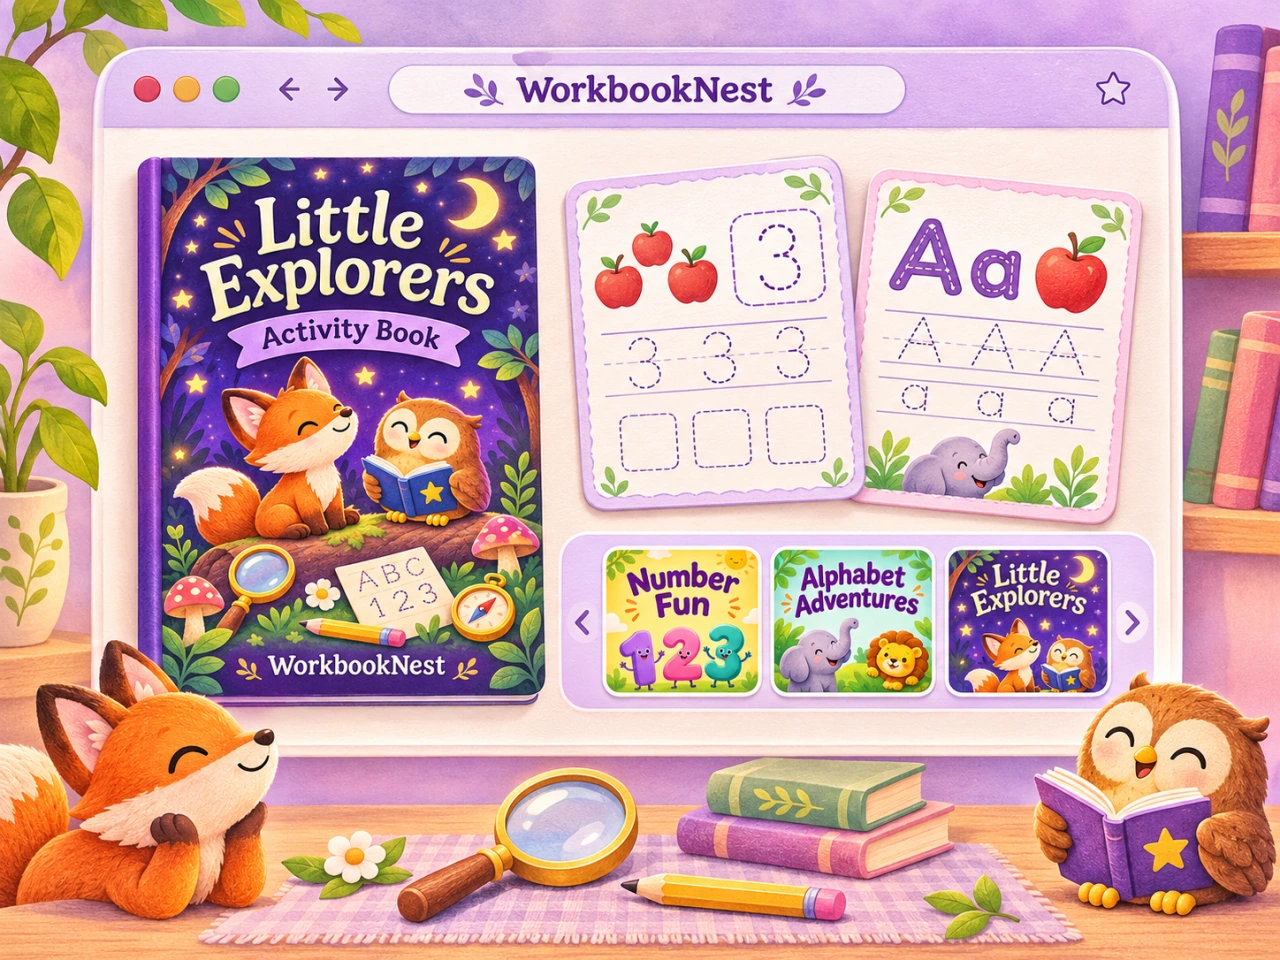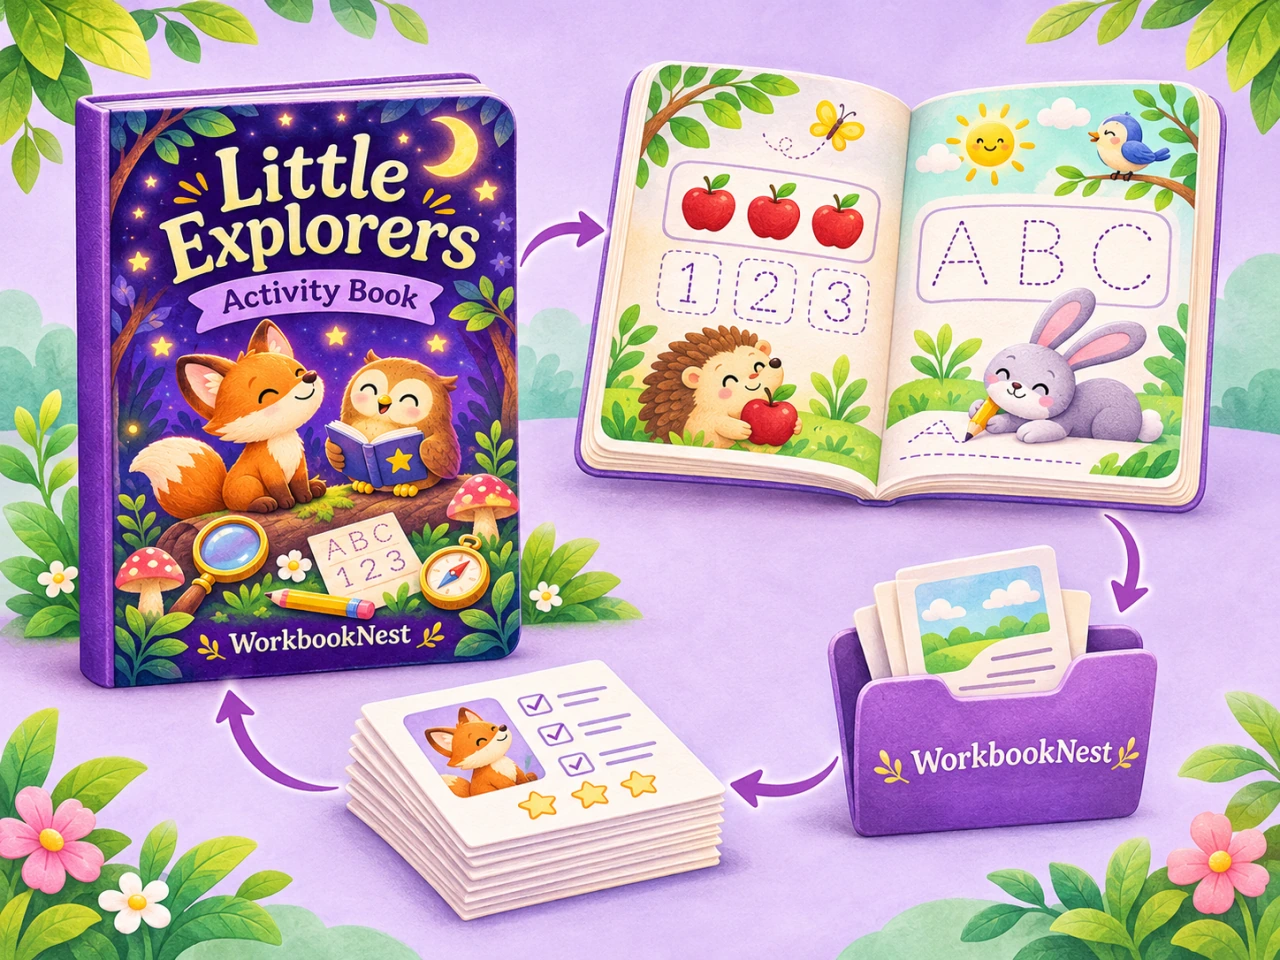
Plan your book around the finished printable files: paper size, page count, margins and covers. A collection of good activities becomes a useful workbook when the pages follow a clear purpose and feel comfortable to use.
Start with the child and the task. Decide who the book is for, what they should practice and how much support they need. A preschool tracing book needs a different pace and page density from a multiplication practice book.
The practical sequence: choose a learning goal, plan the printed pages, arrange the activities, check the answers and inspect the finished files before uploading them.
Plan the printed pages
Choose your paper sizes before layout. WorkbookNest exports US Letter and A4 versions of the same book, with answer keys and covers as separate PDFs.
A roomy page gives young learners space to write, draw and trace. A smaller format can work for travel puzzles, but the same activity may need fewer questions and larger labels to stay readable.
- Choose US Letter, A4 or both.
- Decide whether the interior is black-and-white or color.
- Decide how many activities suit your learners.
- Allow for instructions, answers and any blank backs.
Keep these choices in a short project note. Changing the paper size at the end can affect every illustration, line of text and answer box in the book.
Give the workbook one clear purpose
A theme makes the pages inviting; a learning goal makes them useful. “Ocean addition within twenty” is a more practical starting point than an unfocused collection of ocean pictures and unrelated exercises.
Write down the skills you want the learner to practice. Then choose activities that support those skills. Use a small sample to check that the instructions, examples and writing space suit the intended age.
A consistent page rhythm helps. Keep titles, instructions and working areas in familiar positions so learners can spend their attention on the activity.
Arrange a sequence that makes sense
Start with an approachable activity and introduce difficulty gradually. A short example can be more useful than a long instruction paragraph, especially for early readers.
Mixing activities can add variety, but each change should have a purpose. A counting page, a matching page and a simple addition page can support the same number skill in different ways.
Build a small sample first
Create three or four pages before committing to the whole interior. Print them at actual size. Look for crowded questions, thin tracing marks and illustrations that make the task harder to understand.
Keep the answer key connected
Each answer should point clearly to its activity page. Reordering the interior changes those references, so check the key again after the final page order is settled.
Think about both sides of the paper
Cut-out activities need a blank back if cutting would destroy the next exercise. Heavy coloring may also benefit from a blank reverse. Include those pages in the final count.
Make every page comfortable to print
Keep important content inside the safe area and give the inner margin enough room for binding. A worksheet that looks balanced on screen can become difficult to use when the book cannot lie completely flat.
Use clear type, generous writing space and dark enough lines. Check labels and symbols at the actual printed size. A scaled-down preview can hide small text and faint detail.
- Leave room for a child's pencil and handwriting.
- Keep instructions close to the activity they explain.
- Check repeated headers and page numbers.
- Use consistent spacing and a limited set of type styles.
Keep pages, answers and covers organized
Activity pages, answer keys and covers each get their own PDF, plus an optional combined book. Buyers can print just what they need.
Finish the pages before your final cover check, so the title, page count and contents you promise on the cover match the book.
Keep an editable project alongside the exported files. Use clear names for the approved interior and cover so an earlier draft does not accidentally become the upload.
Check the finished export
Inspect every page for cut-off content and missing characters. WorkbookNest checks text and page bounds before export, but read the final PDF yourself too.
Check the file itself, rather than relying only on the editing canvas. Open the exported PDF, review each page and print representative examples at actual size.
- Confirm the page size and final page count.
- Read all instructions and check the answers.
- Look for clipped text, broken symbols and missing images.
- Check inner margins and any intentional blank pages.
- Confirm the cover matches the final interior settings.
- Print one test page at actual size (100%).
A print preview is a useful check, but a physical proof can reveal practical issues such as awkward binding space, overly faint lines or activities that need more writing room.
Keep a reusable project checklist
Save the paper size, fonts, activity settings and answer-key decisions with the project. A consistent checklist makes a second workbook easier to prepare without carrying mistakes from the first one.
In WorkbookNest, the book builder keeps page order, answer pages and covers in sync, and Seller exports packages everything into one ZIP. WorkbookNest is digital only: no paper and no shipping.
Try a worksheet → or explore the free tools for your next collection.